Hello everyone,
It’s been some time! Almost 4 months since my very first post. And that’s because I was studying. I was studying a lot in conjuction with my every day job. And the topic of my studies, as the title says is:
Subdivision surface modelling! (link to polycount wiki featuring interesting concepts)
Subdivision surface modelling is a technique to create high-detailed models by building low-detailed meshes. The low-detailed meshes are then put under the Subdivision surface modifier to subdivide each polygon and create a new higher detailed mesh.
The subdivisions are categorized by levels.
- At level 0, the mesh has it’s starting form without any alterations.
- At level 1, the first subdivision takes place and creates a new mesh.
- At level 2, a new higher detailed mesh is created by subdividing the mesh from level 1.
The increase in polygons at each level is at about 4x from the previous, based on the modifier implementation. So, use with caution! You can easily reach 500k triangles without noticing.
The following render of the model is with wireframe showing the topology and how the polygons “flow”.

Now to the process!
The first thing you have to do before you start modelling is go out and find reference material! Just search for images and anything that looks like what you have in your head. My initial plan was to make a classic 80’s car but while searching – and because I had already made a car – I decided to make a helicopter. Just search “helicopter blueprints” or “car blueprints” and you will be amazed at what your search engine will return!
After you have gathered your reference images, videos or even sounds, it is time to make a plan. A plan of the steps that you will take to create the model. From my experience, it is better to have 1-2 days planning and 6 hours of modelling than 1 hour of planning and then 12 hours of modelling. The latter option always, always, ALWAYS contains the struggles and remodelling of parts that didn’t fit correctly or off normals/topology.
The planning part contains some of the following simple questions:
- Will I use a single cube at the start which I will then proceed and cut pieces here and there?
- Will I have a single object for every different part of my model?
- At what level of detail am I starting?
- Should I have a full low LOD model before continuing with the next LOD level?
- Or should I have a high LOD level of my engine before continuing with the tail?
These questions are simple but answering them correctly can help you save lots of hours and frustration.
Jumping between levels of detail can mean days of modelling. A good practice that has helped me is modelling the whole model in a low LOD and then adding more details. This way, when I am adding a specific part, I can envision how it will affect the rest of the model (even in low LOD) which makes my modelling life easier.
Many things can go wrong. But the more time you spend planning, the less you will spend deleting/re-configuring things.
After the planning comes the easy part! Who am I kidding, now is the hardest part where the eyes and fingers will hurt until you are satisfied with the outcome. But it is all worth! Unfortunately, I hadn’t planned to write an extensive post, so I didn’t take any snapshots of the various model stages. (Talk about correct planning.)
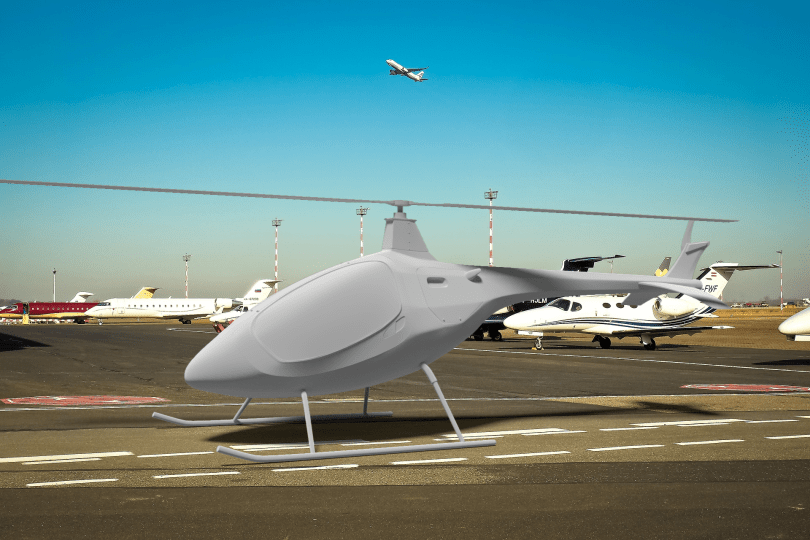
Below is a screenshot of the model with Matcap enabled in Blender showcasing the smooth normals.

And that’s all for my new model! If you like how my work is evolving and want to hear more from me, be sure to follow or even bookmark my page and more is coming!
Have a nice day!
Or night…
You get the point!
